
Donation Station: Check the Internal Connections
Firstly, open your Donations Station. Instructions on how to do this are here:
Donation Station: Open the Enclosure
The right-angled USB-C connects to the USB-C port on the top left of your tablet.
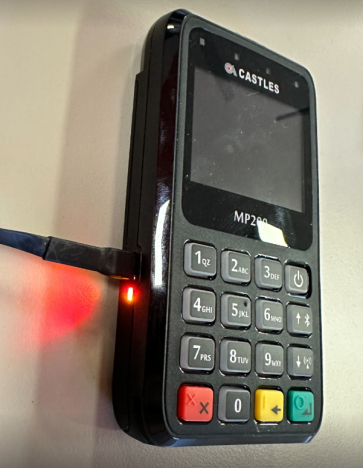
The straight Micro-USB connects to the card reader device.
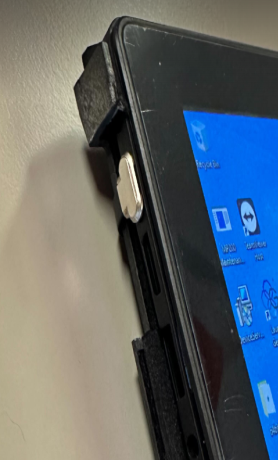
Charger port is located on the left hand side of the tablet.
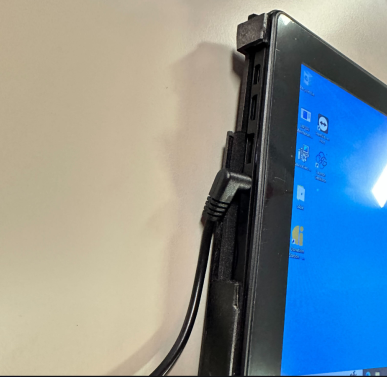
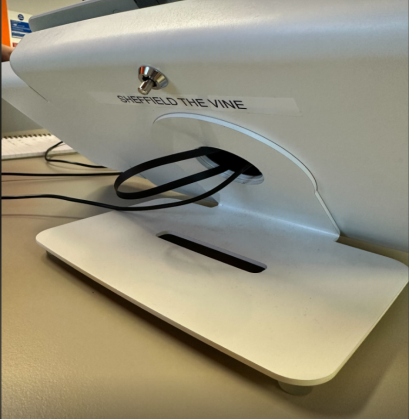
The power cable should then be threaded through the gap in the rear of the enclosure.
Then connect the circular end of the cable to the tablet.
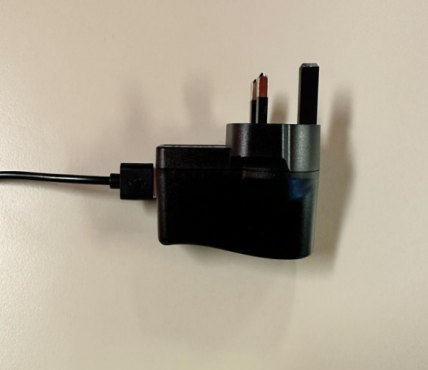
USB type A end into the plug/adapter.
Any loose cable should be threaded into the rear gap of the enclosure, to prevent kinks and crimps.
Now that the new cable is connected, before closing and locking your Donation Station you should check if the connection is being made.
To check your device is receiving power, you should now see a charging symbol on the battery icon.

Located at the bottom right hand of the screen, while on the windows home screen.
Now that the new cable is connected, before closing and locking your Donation Station you should check if the connection is being made.
References:
Donation Station: Exit the Donation Station App
Donation Station: Check the Internal Connections
To test this also, try to make a transaction, if you receive the prompt to tap your card, the cable is connected and the two are communicating.
Now it’s time to close and lock the enclosure.
References:
Donation Station: Close the Enclosure
Need more help? Please get in touch.
0114 553 1399