
Donation Station Slim: Mounting to a Wall
Here is a step-by-step guide to mount a Slim Donation Station to the wall:
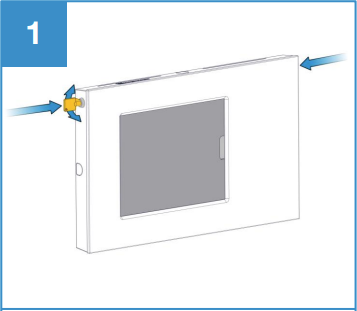
Step 1. Insert a key into one of the enclosure pushlocks and turn in either direction until the lock ‘pops’ open. Repeat with the lock on the other side of the enclosure.
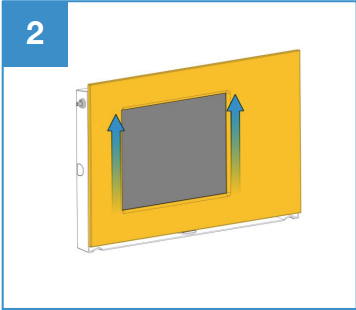
Step 2. Firmly yet carefully slide the bezel upwards and set to one side. If the tablet is already in the enclosure then unplug any cables after removing the bezel.
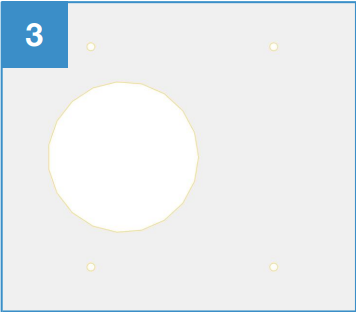
Step 3. Using the Slimline backboard as a guide, drill 4 mounting holes to fit 4 x M4 self tapping screws and wall plugs into the desired wall. Make sure to align the backboard with any necessary cabling. IF MOUTNING ON GLASS, REPLACE STEPS 3 & 4 WITH STEPS 9 & 10.
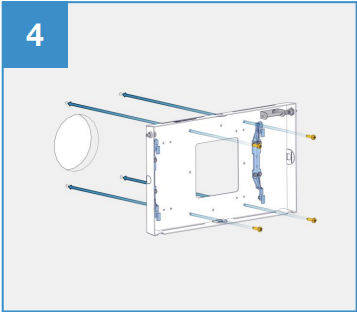
Step 4. Insert wall plugs into the wall, align the backboard and enclosure with the mounting holes in the wall and secure with the 4 x M4 self tapping screws.
Step 5. Slide the tablet tray and foam upwards, out from the bezel.

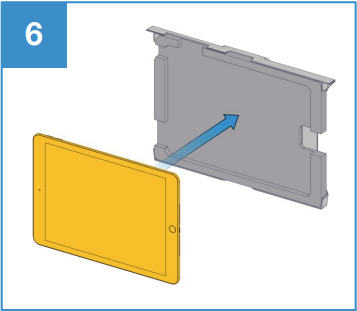
Step 6. Align the tablet with the foam tray and place in position.
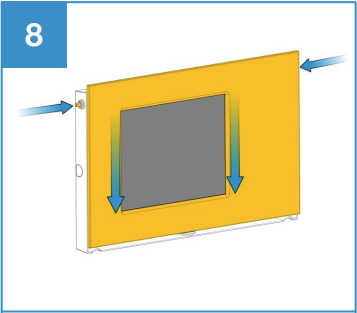
Step 7. Slide the tablet tray back into the bezel and plug any cables from the enclosure back into the tablet.

Step 8. Slide the bezel back onto the enclosure and press in the centre of both pushlocks to close the locks and secure the enclosure. The bezel position may need to be adjusted slightly for the locks to close.
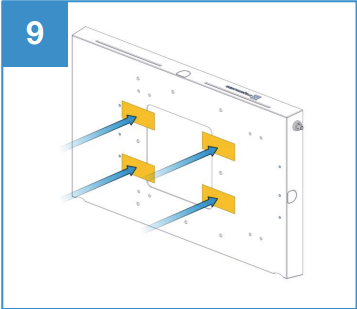
Step 9. To mount onto a glass surface, first remove the top side of the sticky tags, then stick to the back of the enclosure with the pull tab protruding into the aperture in the back of the enclosure.
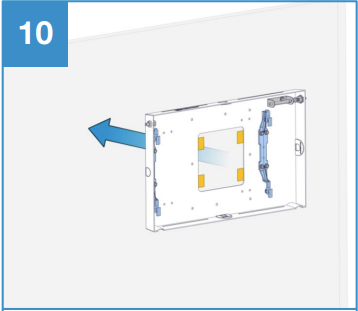
Step 10. Remove the bottom side of the sticky tags and press firmly onto the desired wall in the desired location, applying more pressure where the sticky tags are located. To remove the tags, pull firmly on each of the pull tabs, parallel to the glass wall.
Need more help? Please get in touch.
0114 553 1399