
Donation Station Midi: Mounting your Secure Stand
Here is a step-by-step guide to mount a Midi with secure stand on a surface.
Method 1. Bolting through the countertop:
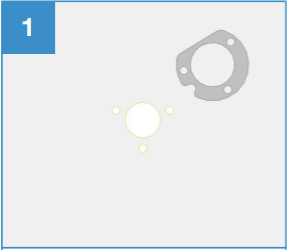
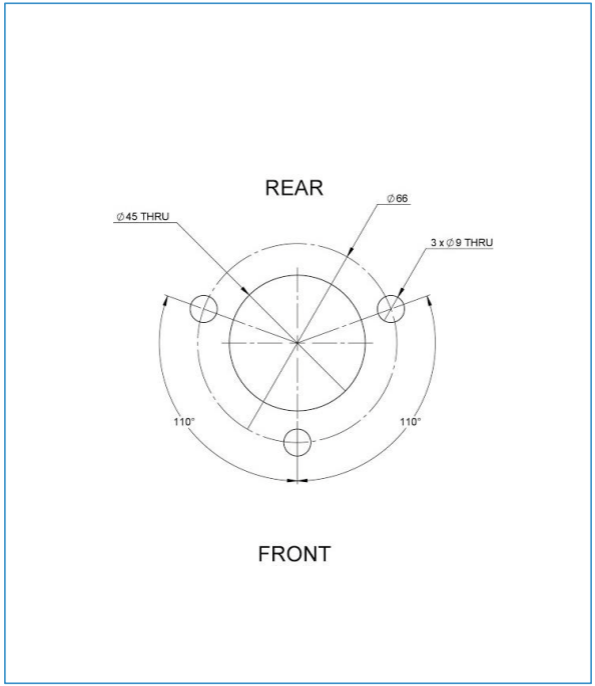
Step 1. Using the mounting bracket (or the drilling template at the bottom of this guide) as a guide, drill 3 holes suitable for the 3 x M8 mounting bolts and a fourth hole suitable for any necessary cable access. Make sure the flat edge of the bracket is parallel with the front edge of counter top.
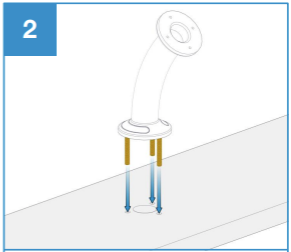
Step 2. With the mounting bolts firmly screwed into the base of the pillar, thread the bolts through the drilled holes in the counter.
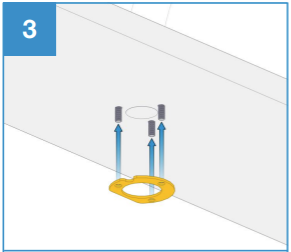
Step 3. Slide the mourning bracket onto the 3 x mounting bolts and cushion against the underside of the counter.
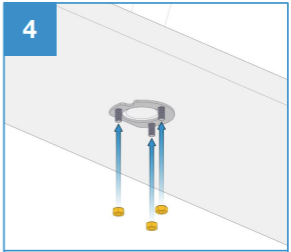
Step 4. Secure the bracket and pillar in place with the 3 x M8 nuts.
Method 2 – Screwing into the countertop:
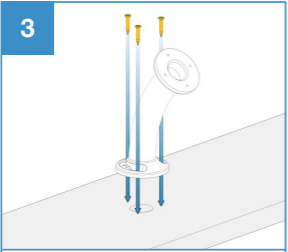
Step 1. Drill a hole suitable for any necessary cable access in the desired countertop position. Make sure that the intended hole is in the necessary position before drilling.

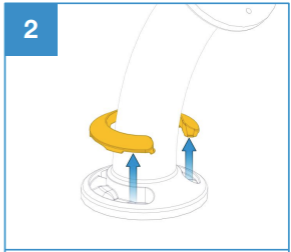
Step 2. Remove the screw head cover from the base of the pillar. This may take some slight force so be cautious when removing.
Step 3. Mount the pillar to the countertop using 3 x suitable countersunk fixings (max 5mm thread diameter). Take care to ensure the cable access hole is aligned and mount is facing forward.
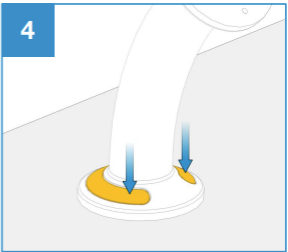
Step 4. Snap the screw cover back onto the base of the pillar to hide the screw heads.
Drilling Template:
Need more help? Please get in touch.
0114 553 1399